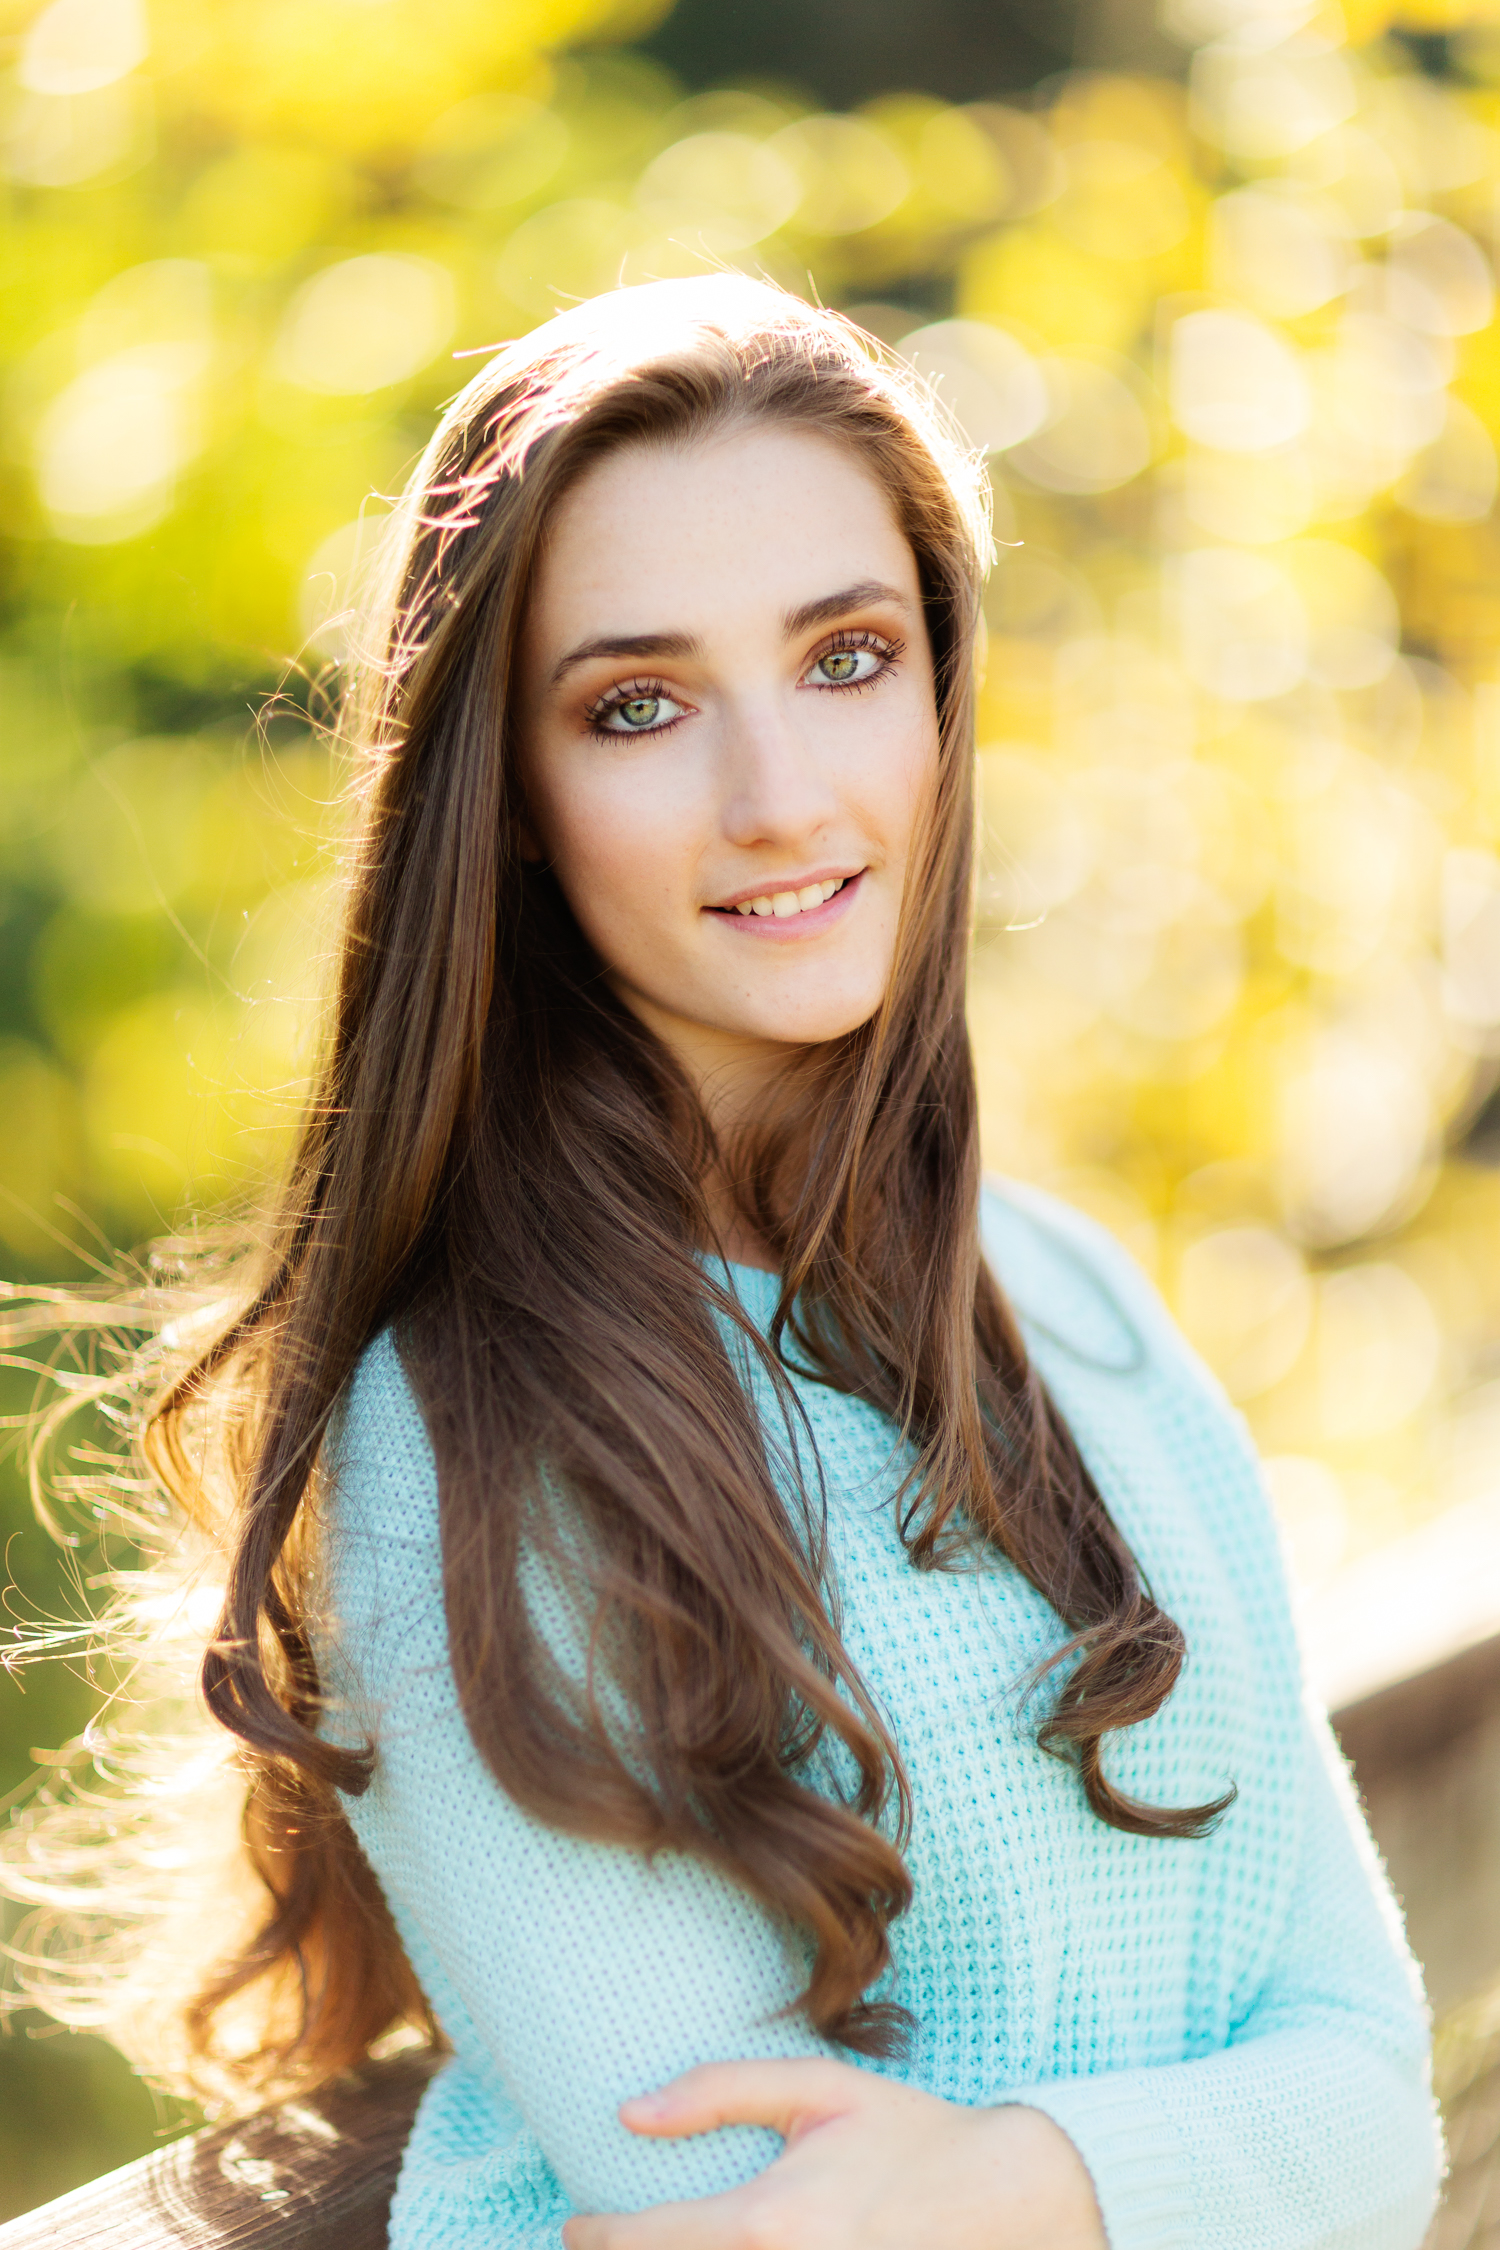
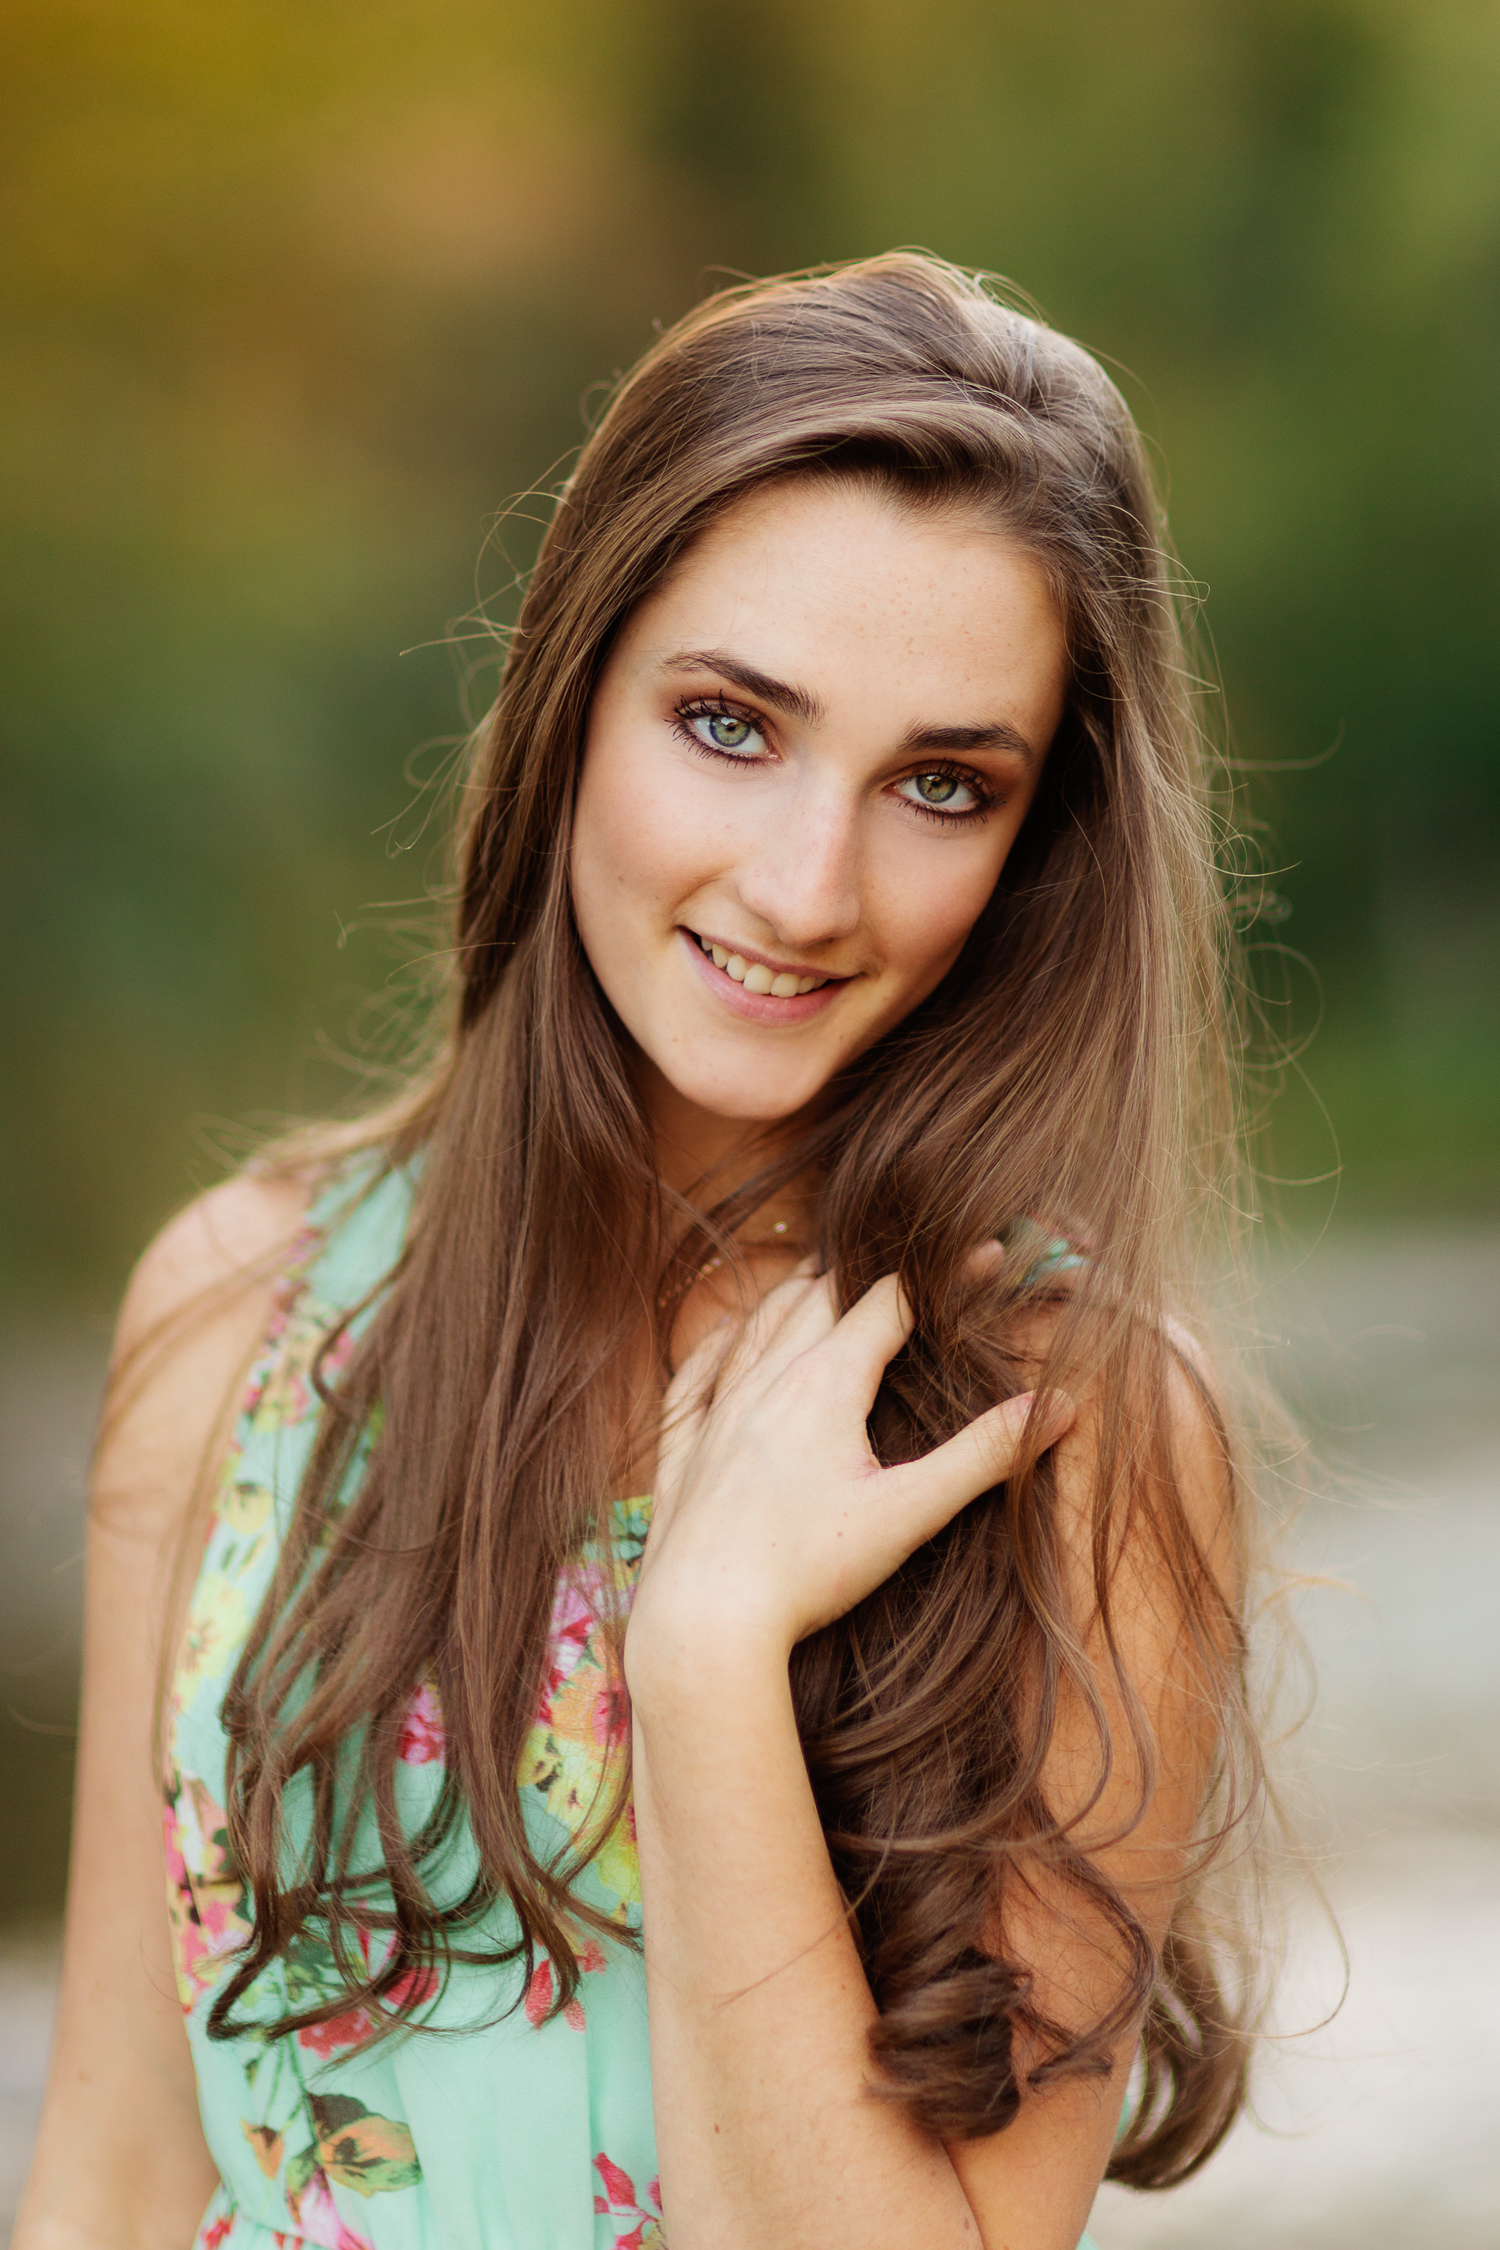
Elianna / Class of 2017
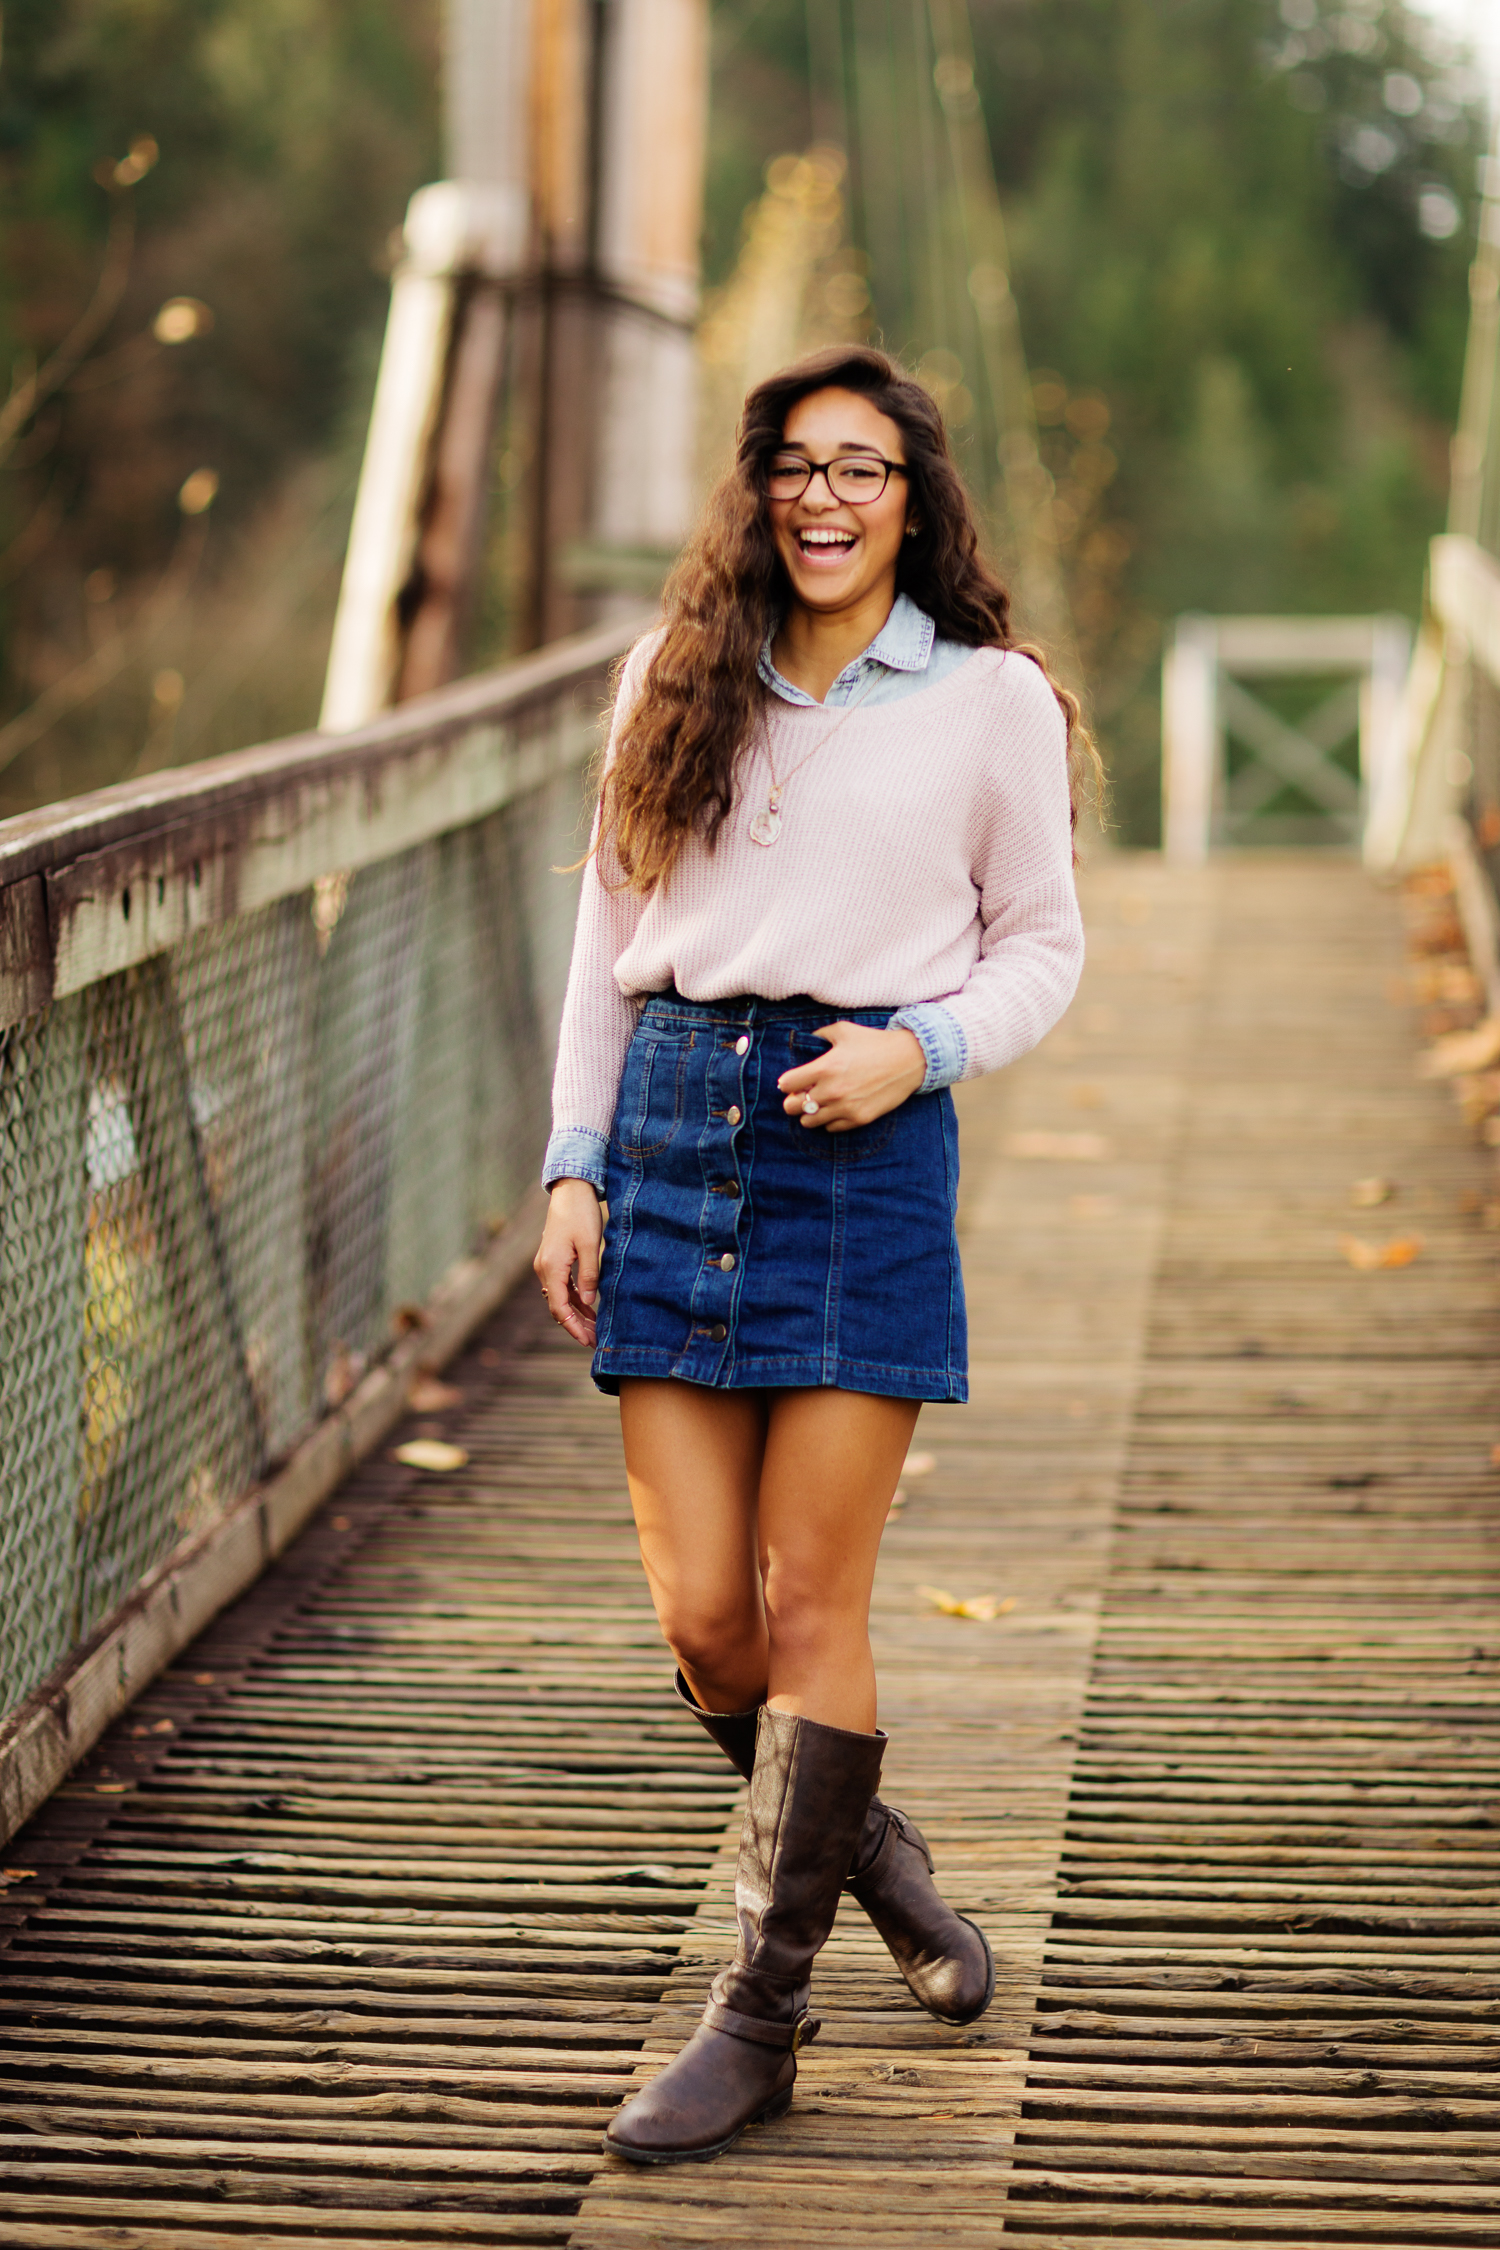
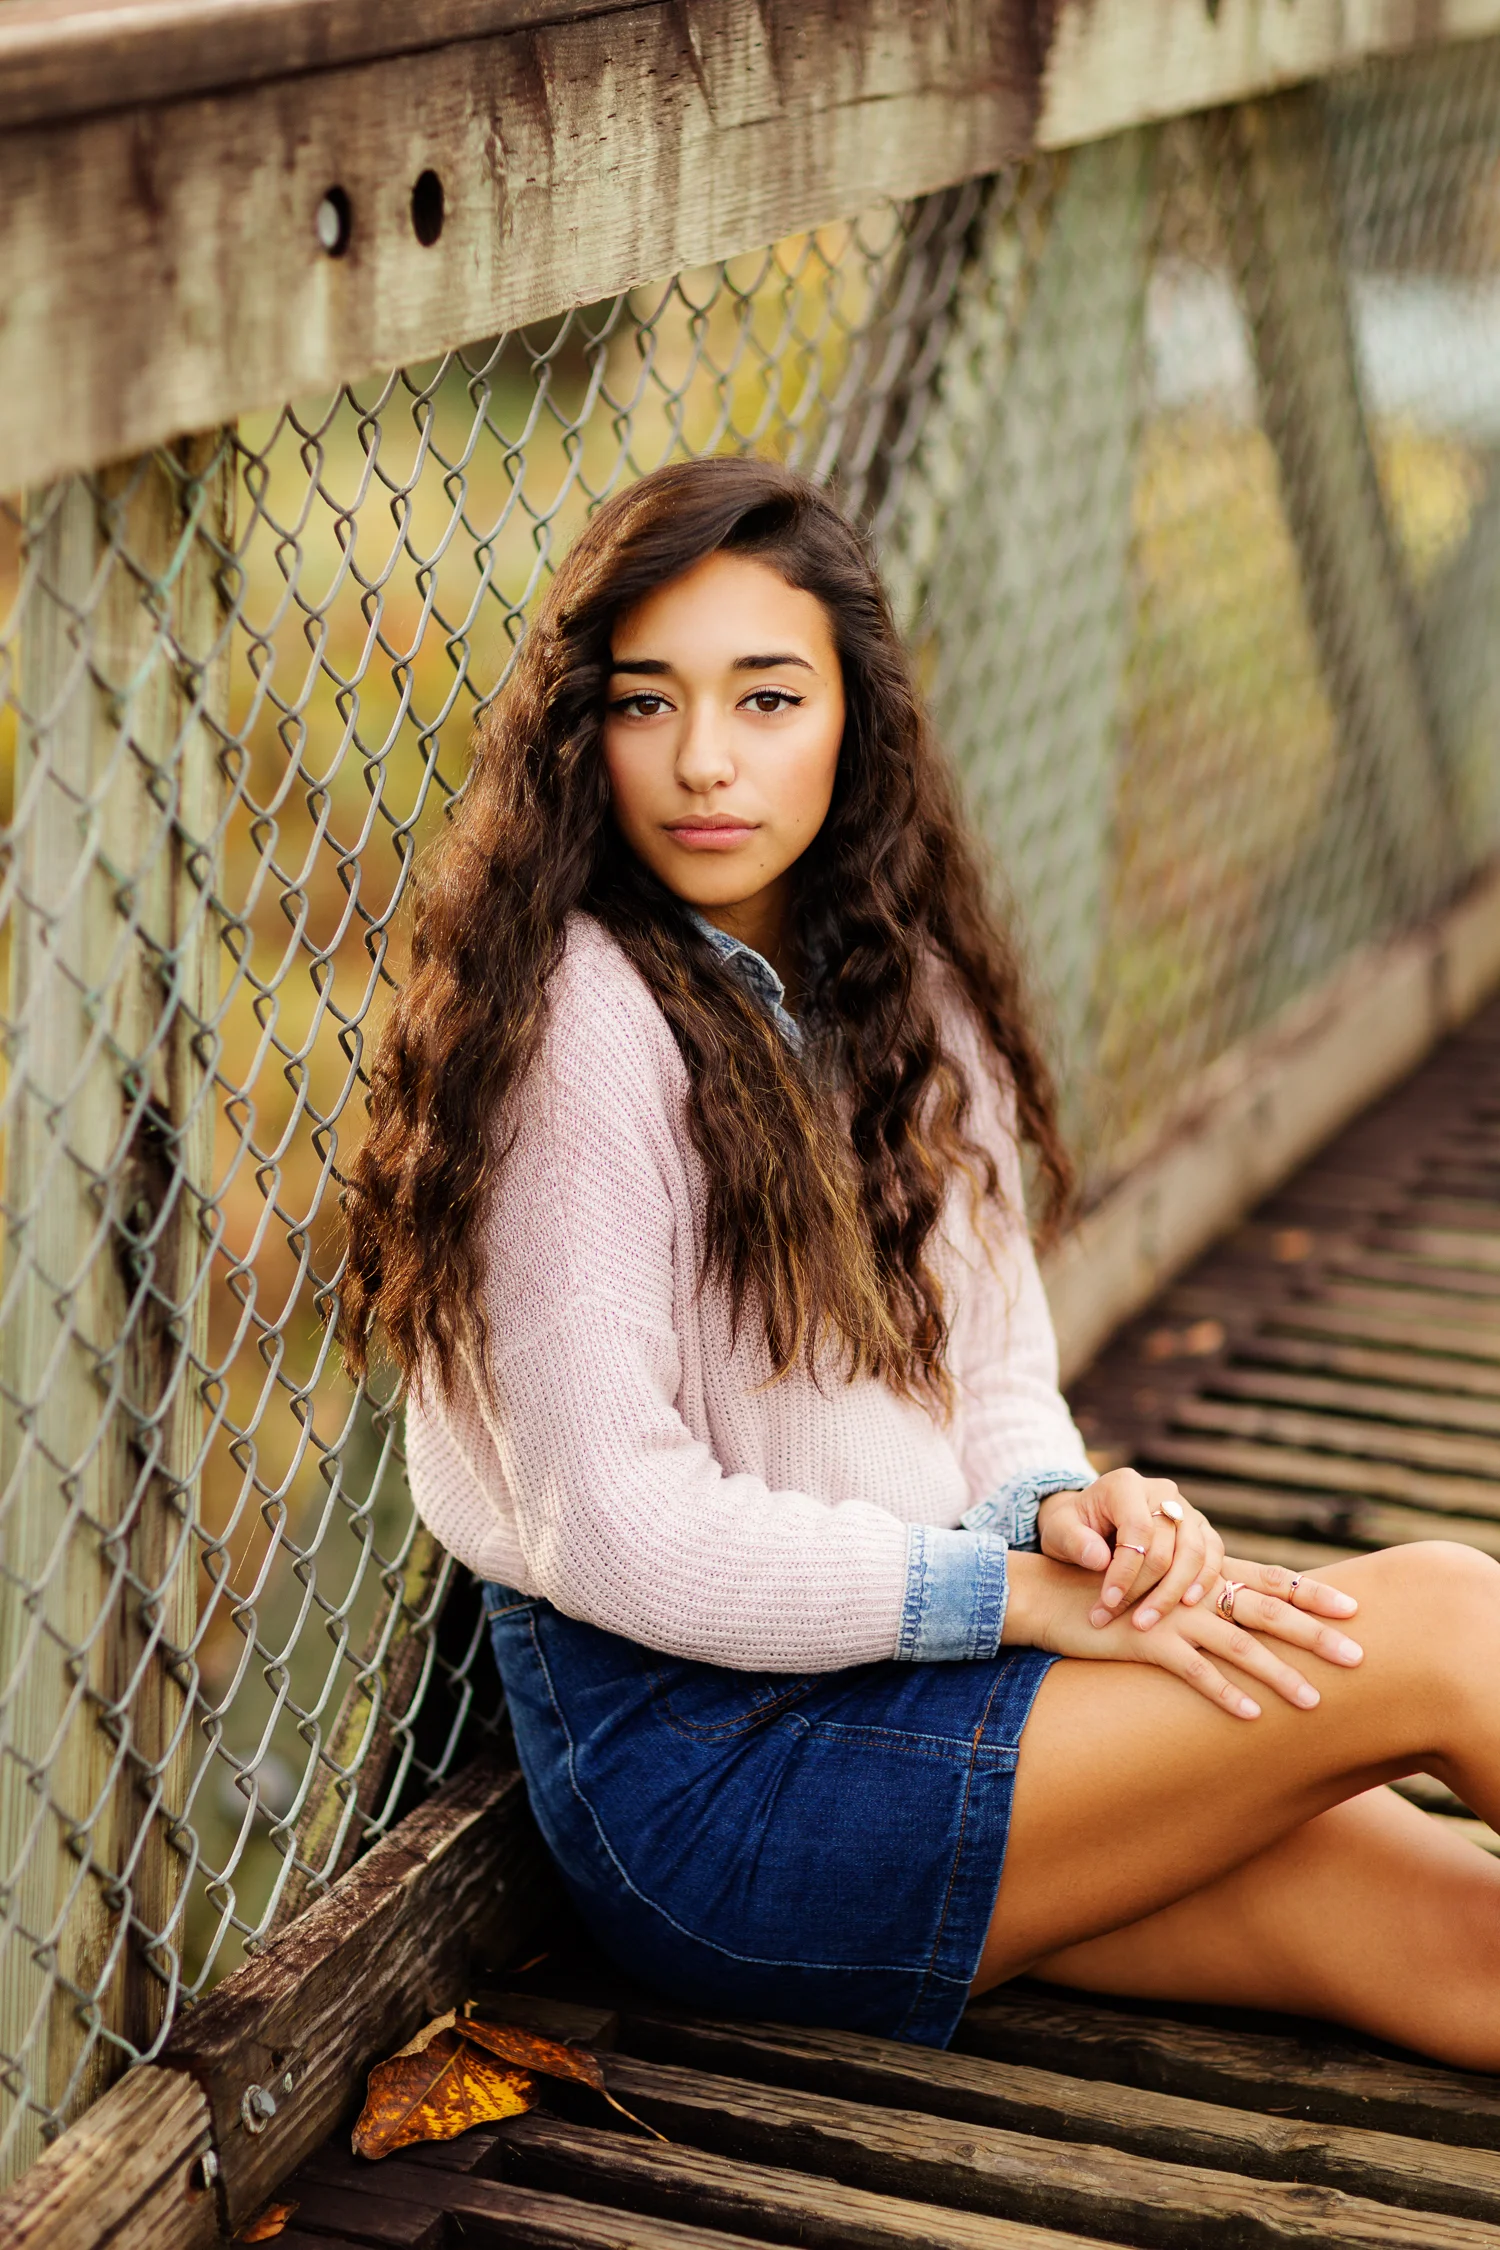
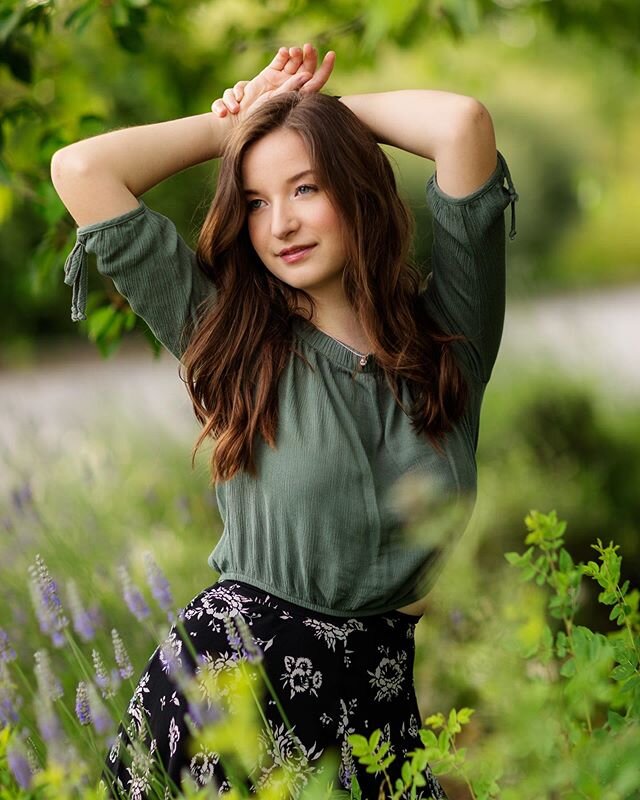
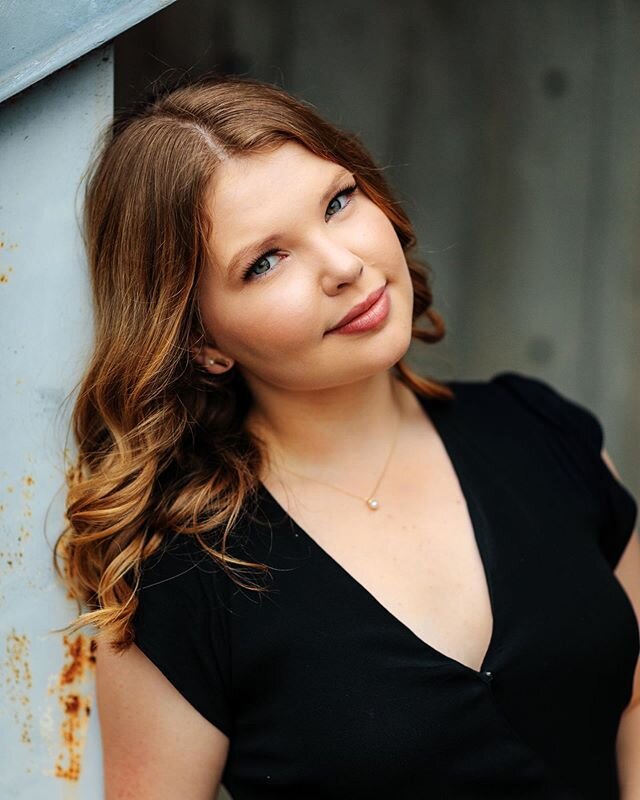
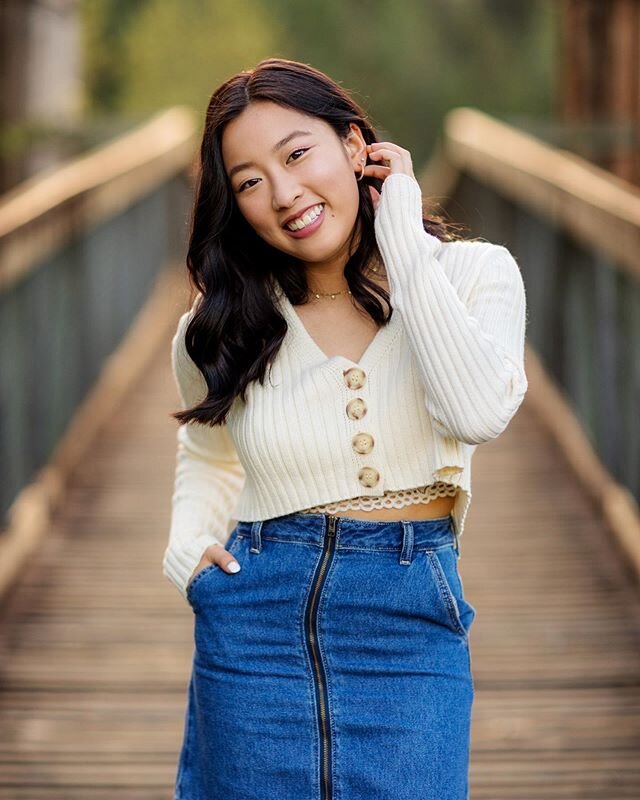
I'm finally getting around to blogging a very special senior session from the fall! My sweet sister Elianna is graduating! It seems a bit unreal, but I guess these images prove it's true! I asked her what she envisioned for her senior photos and she said, "tall grass and glowy light with lot's of Bokeh!" Apparently my Photographer-speak has rubbed off on her!

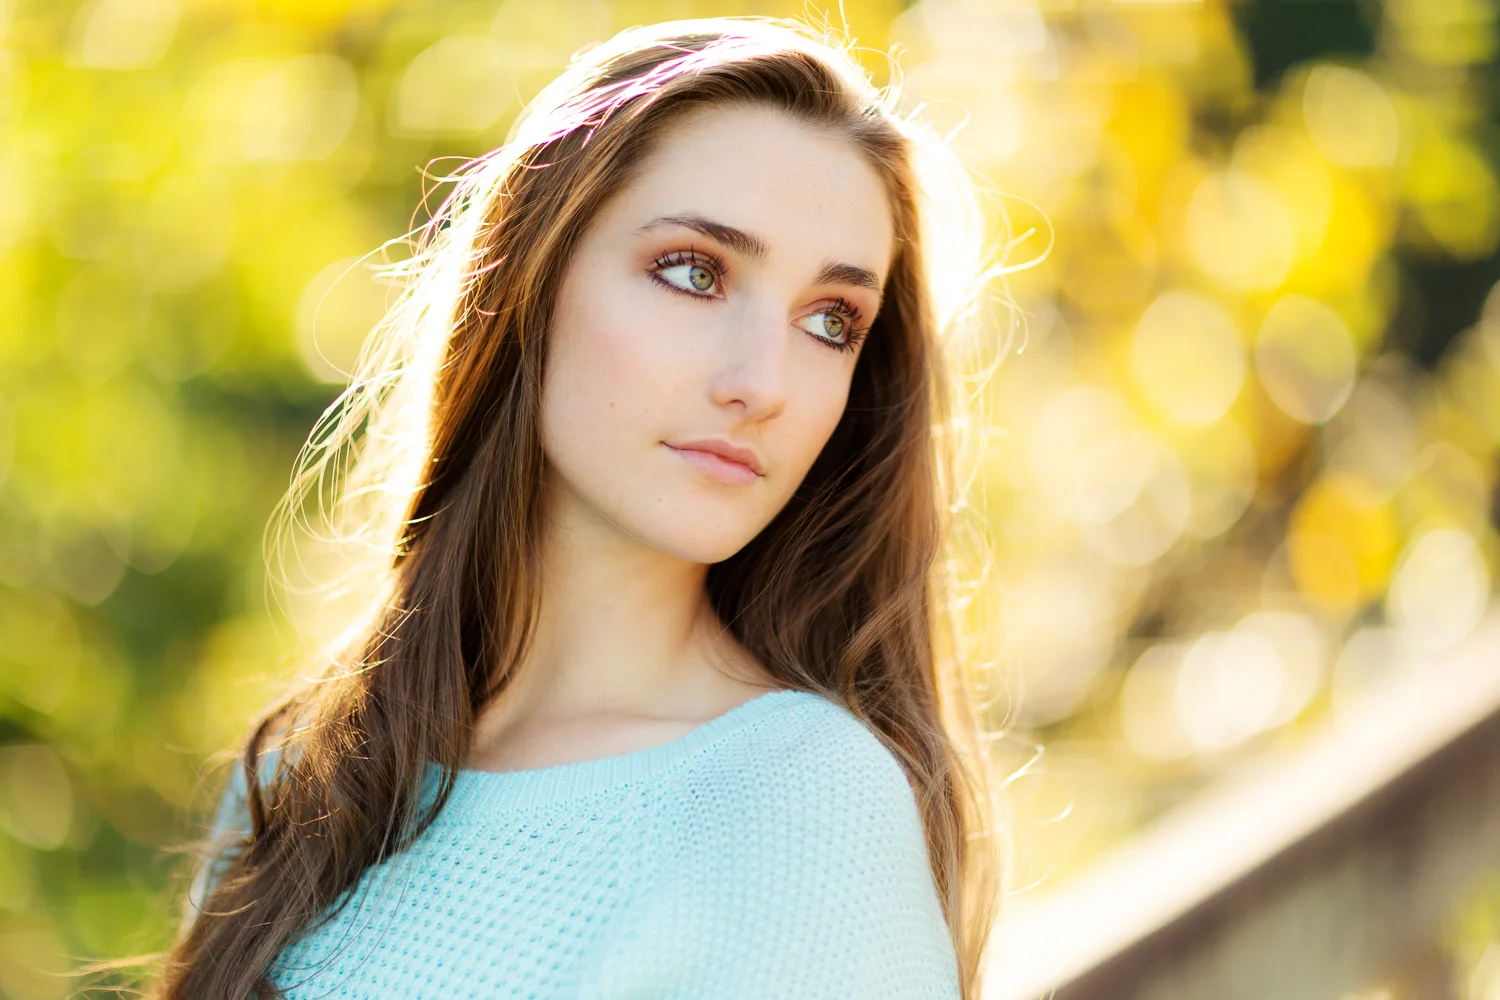
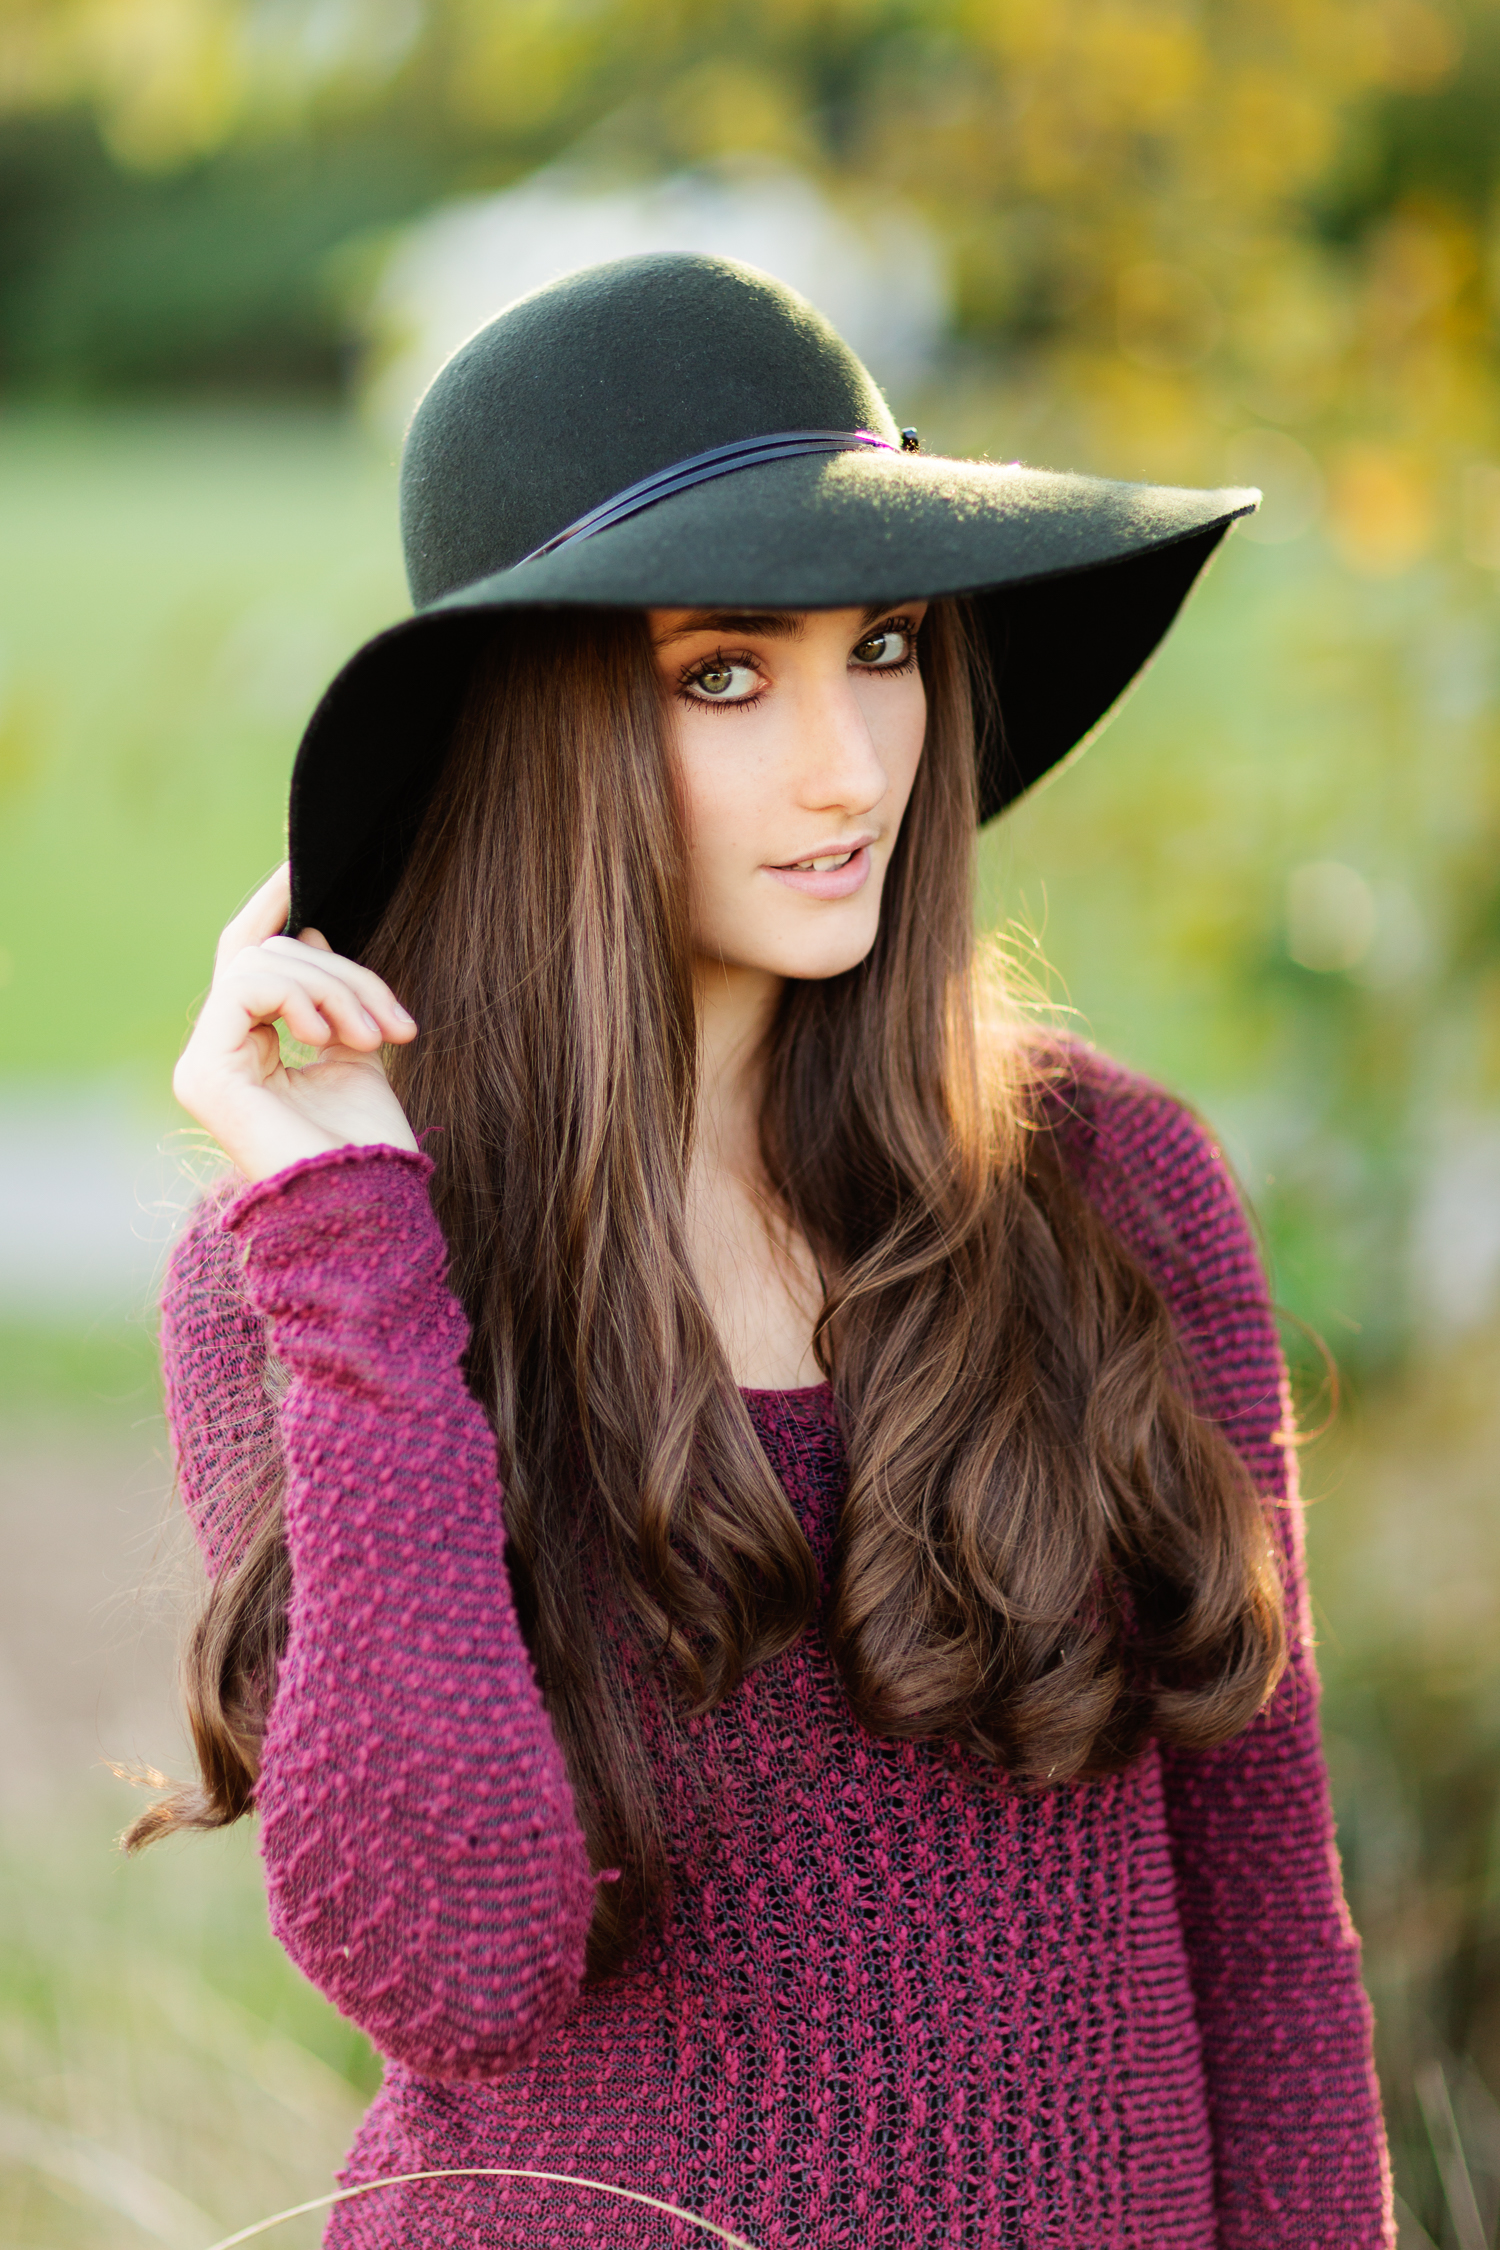
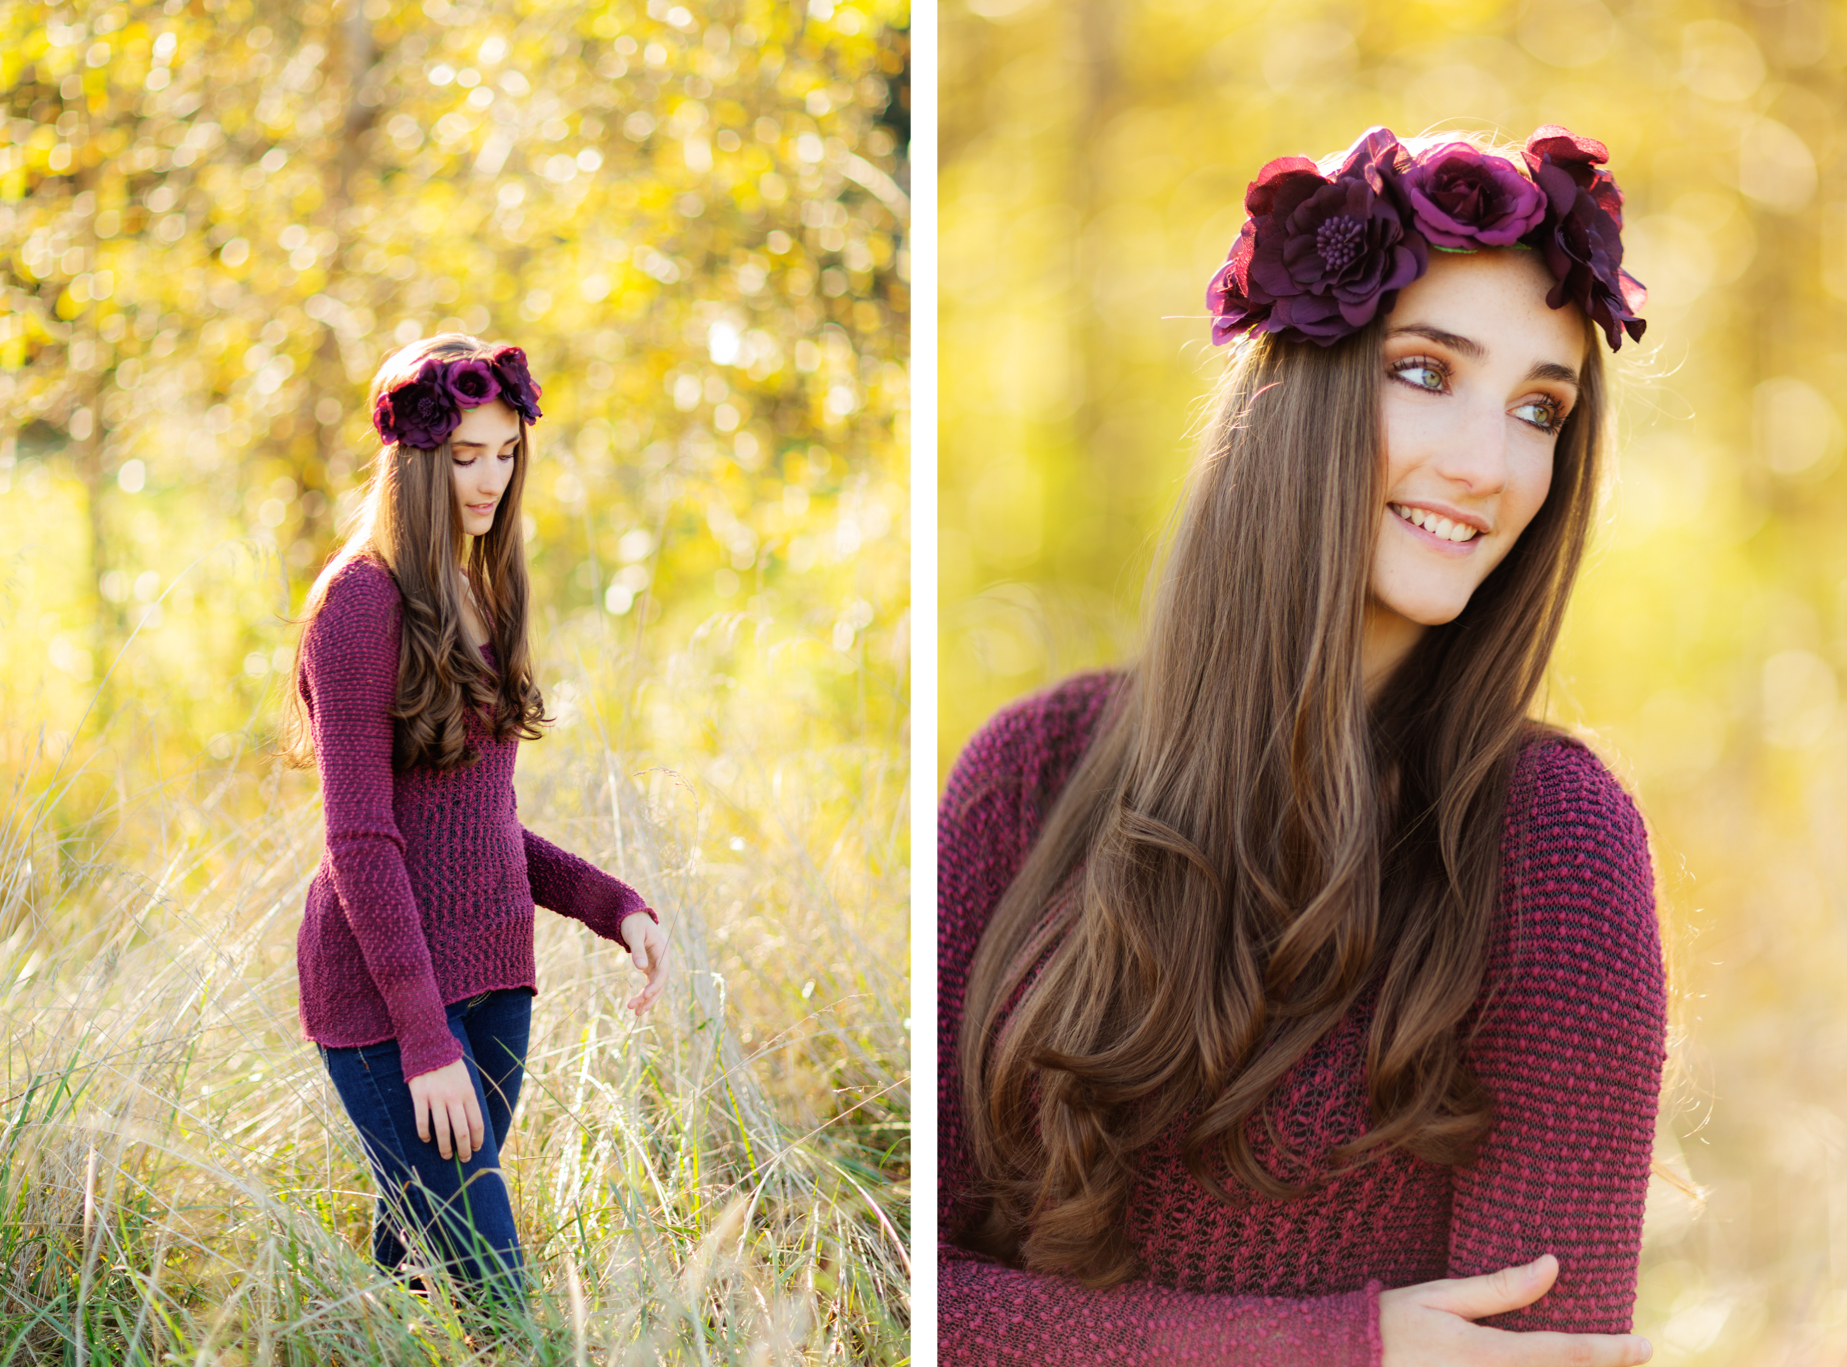
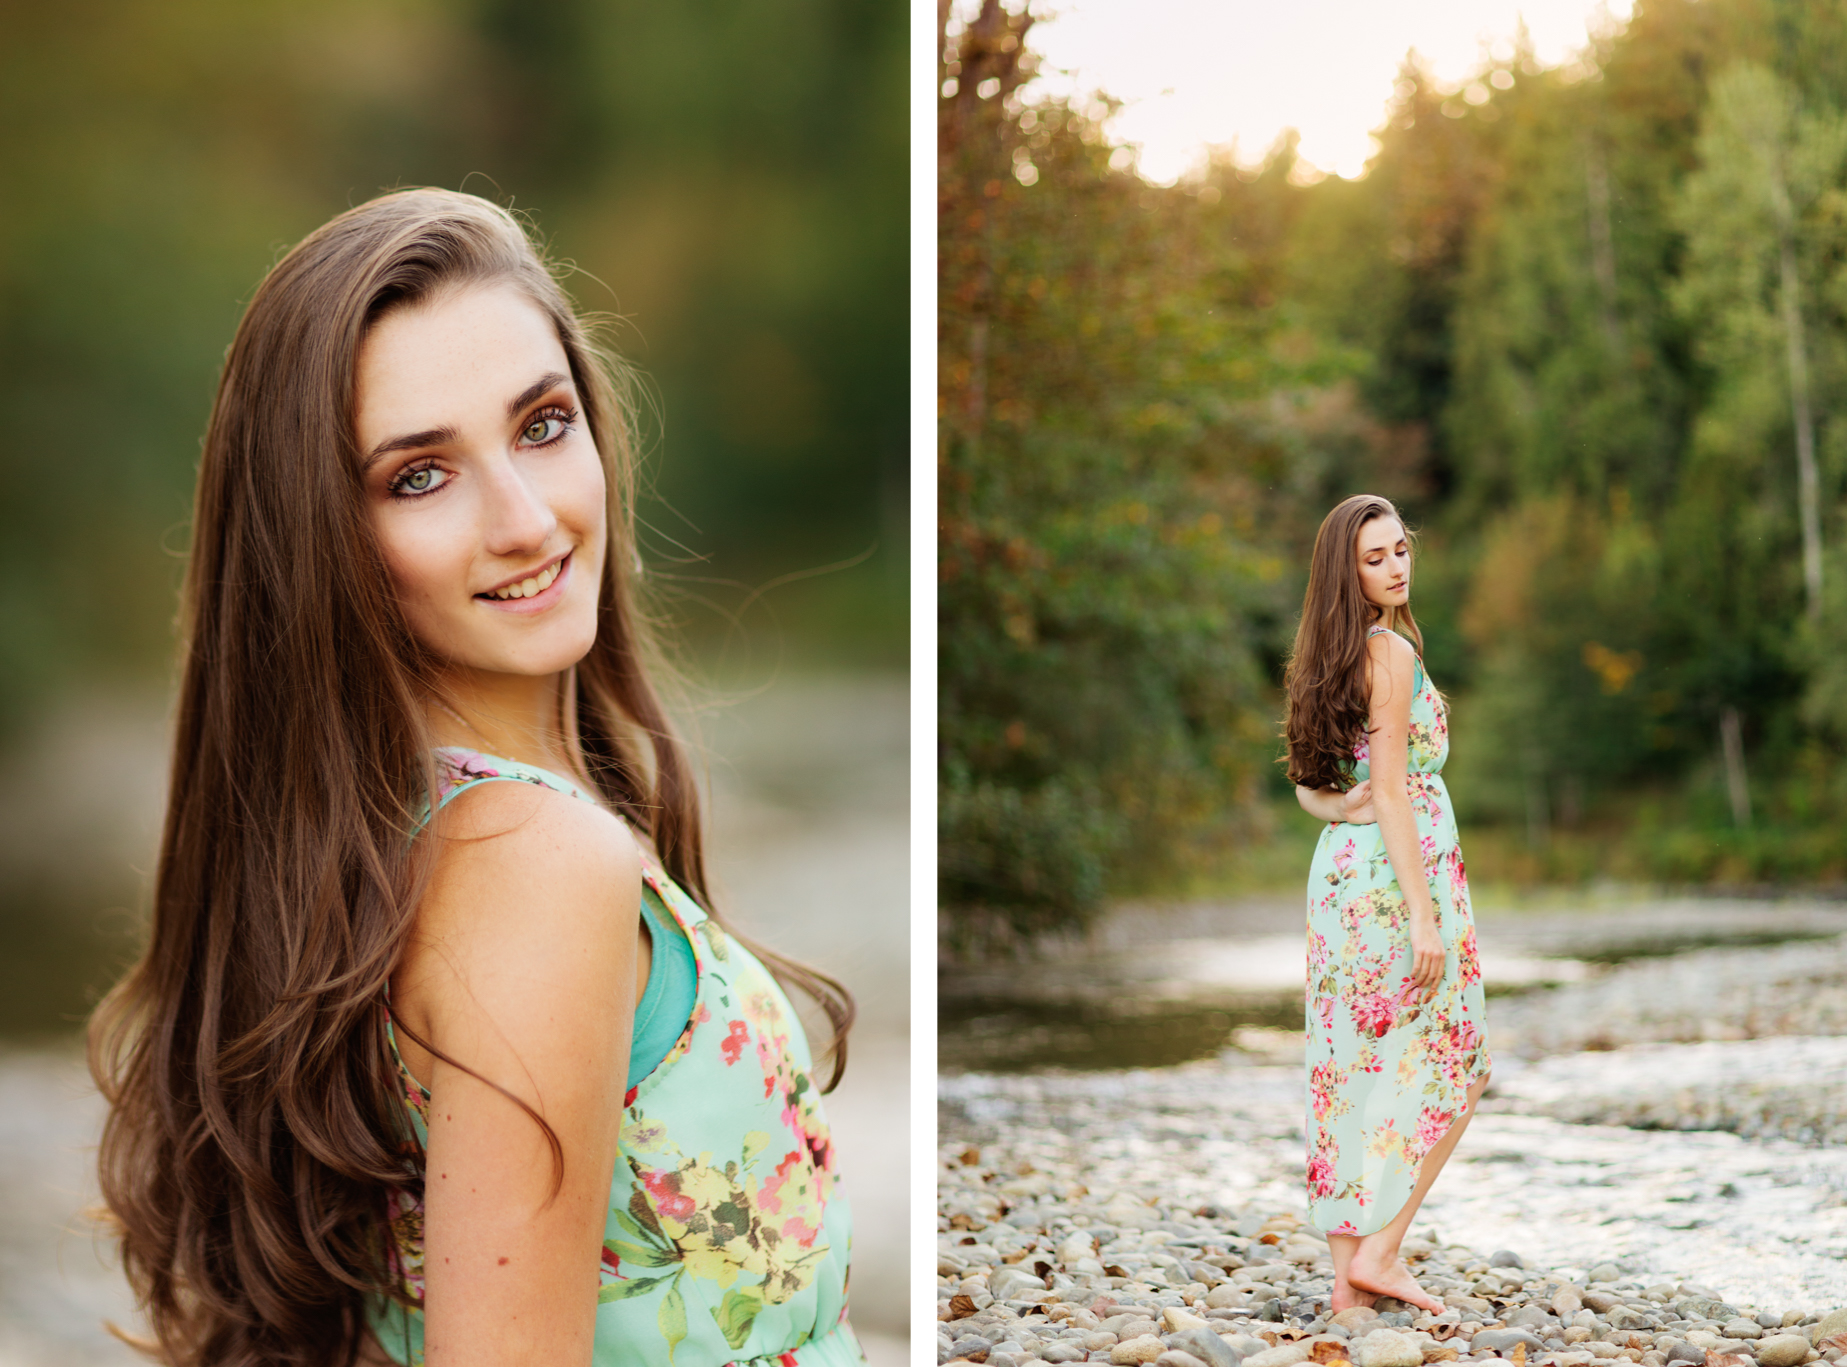
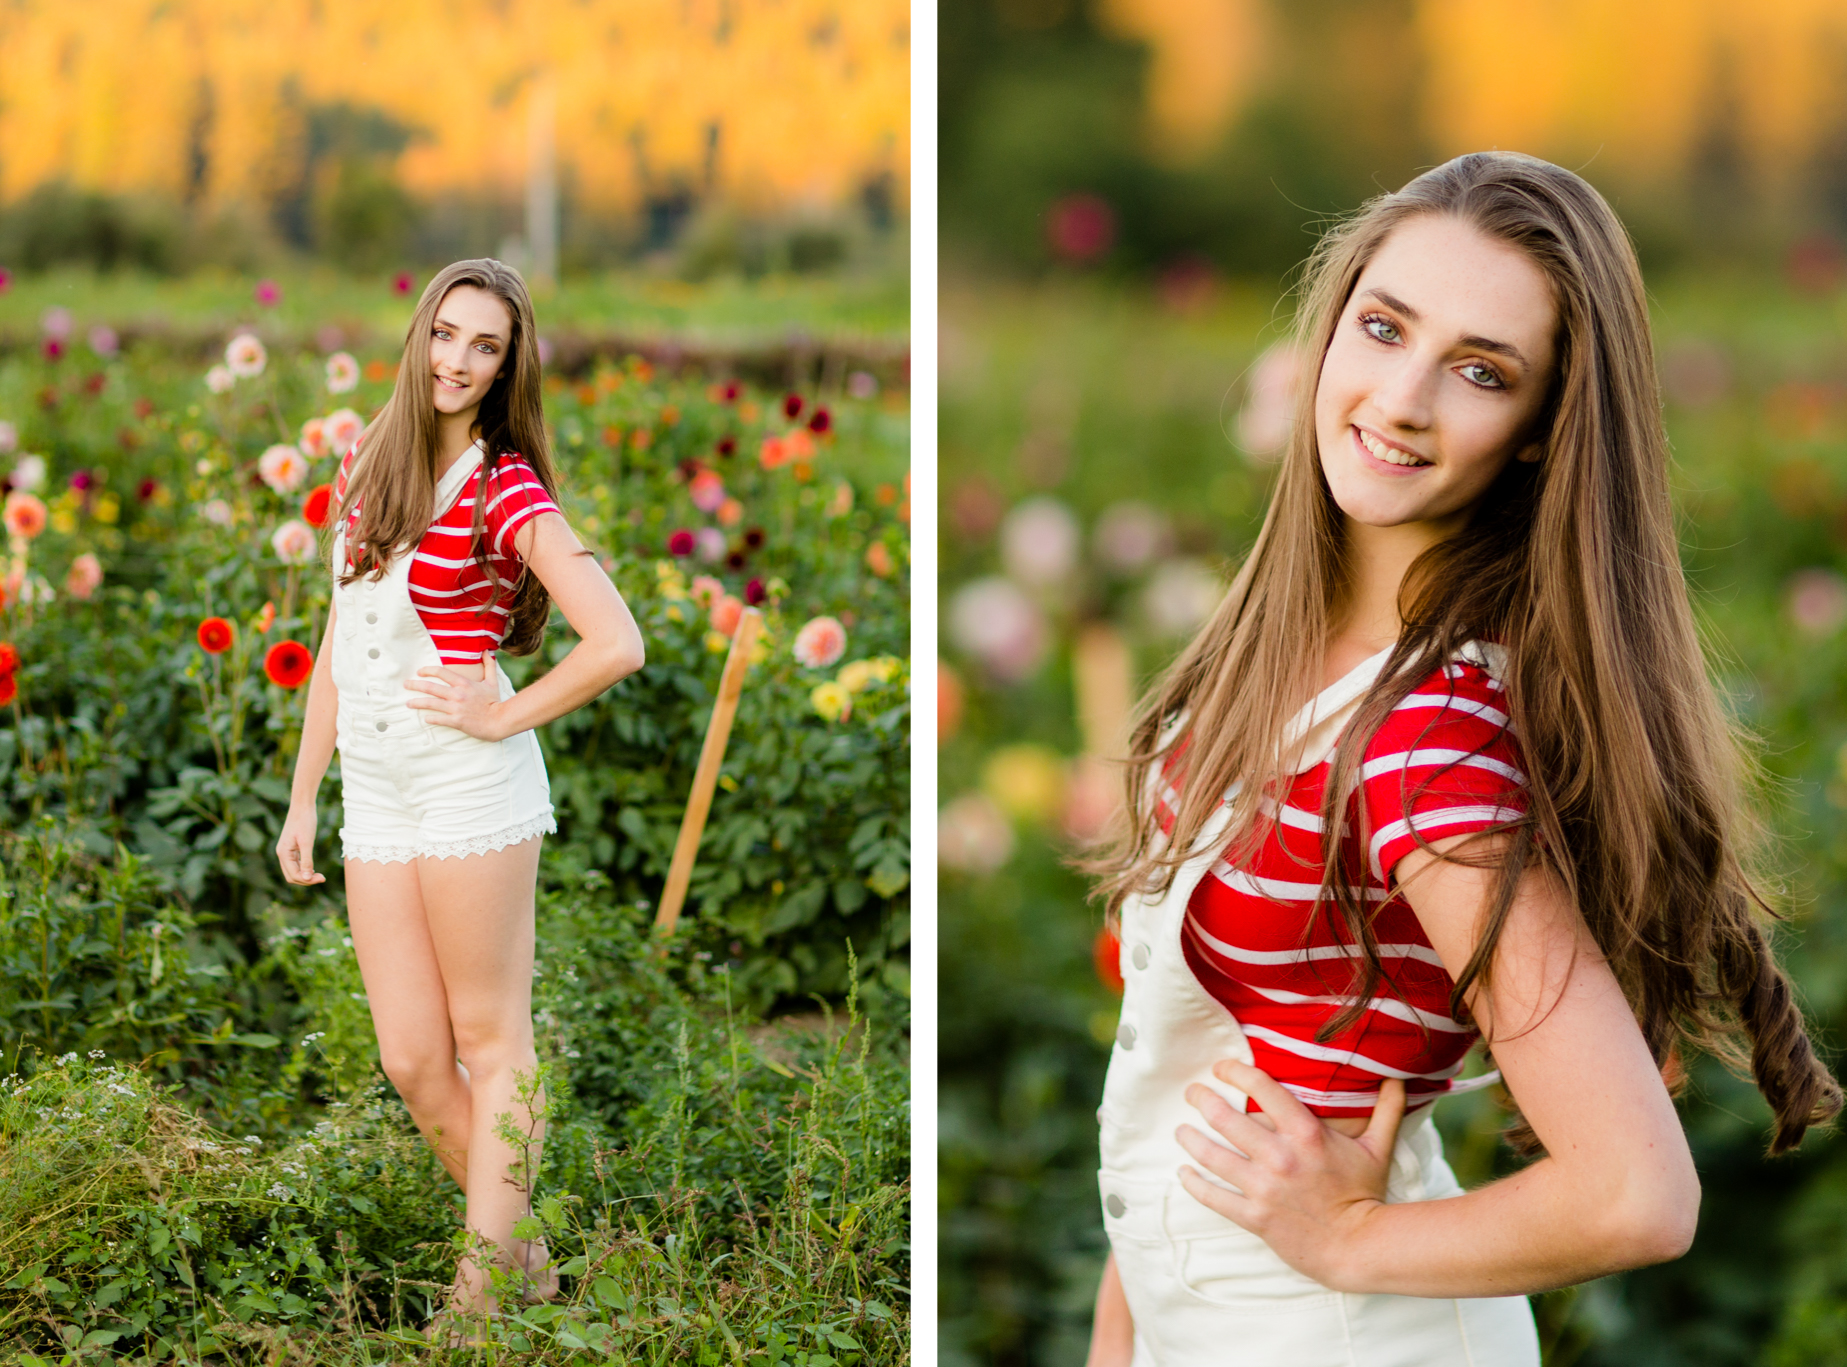
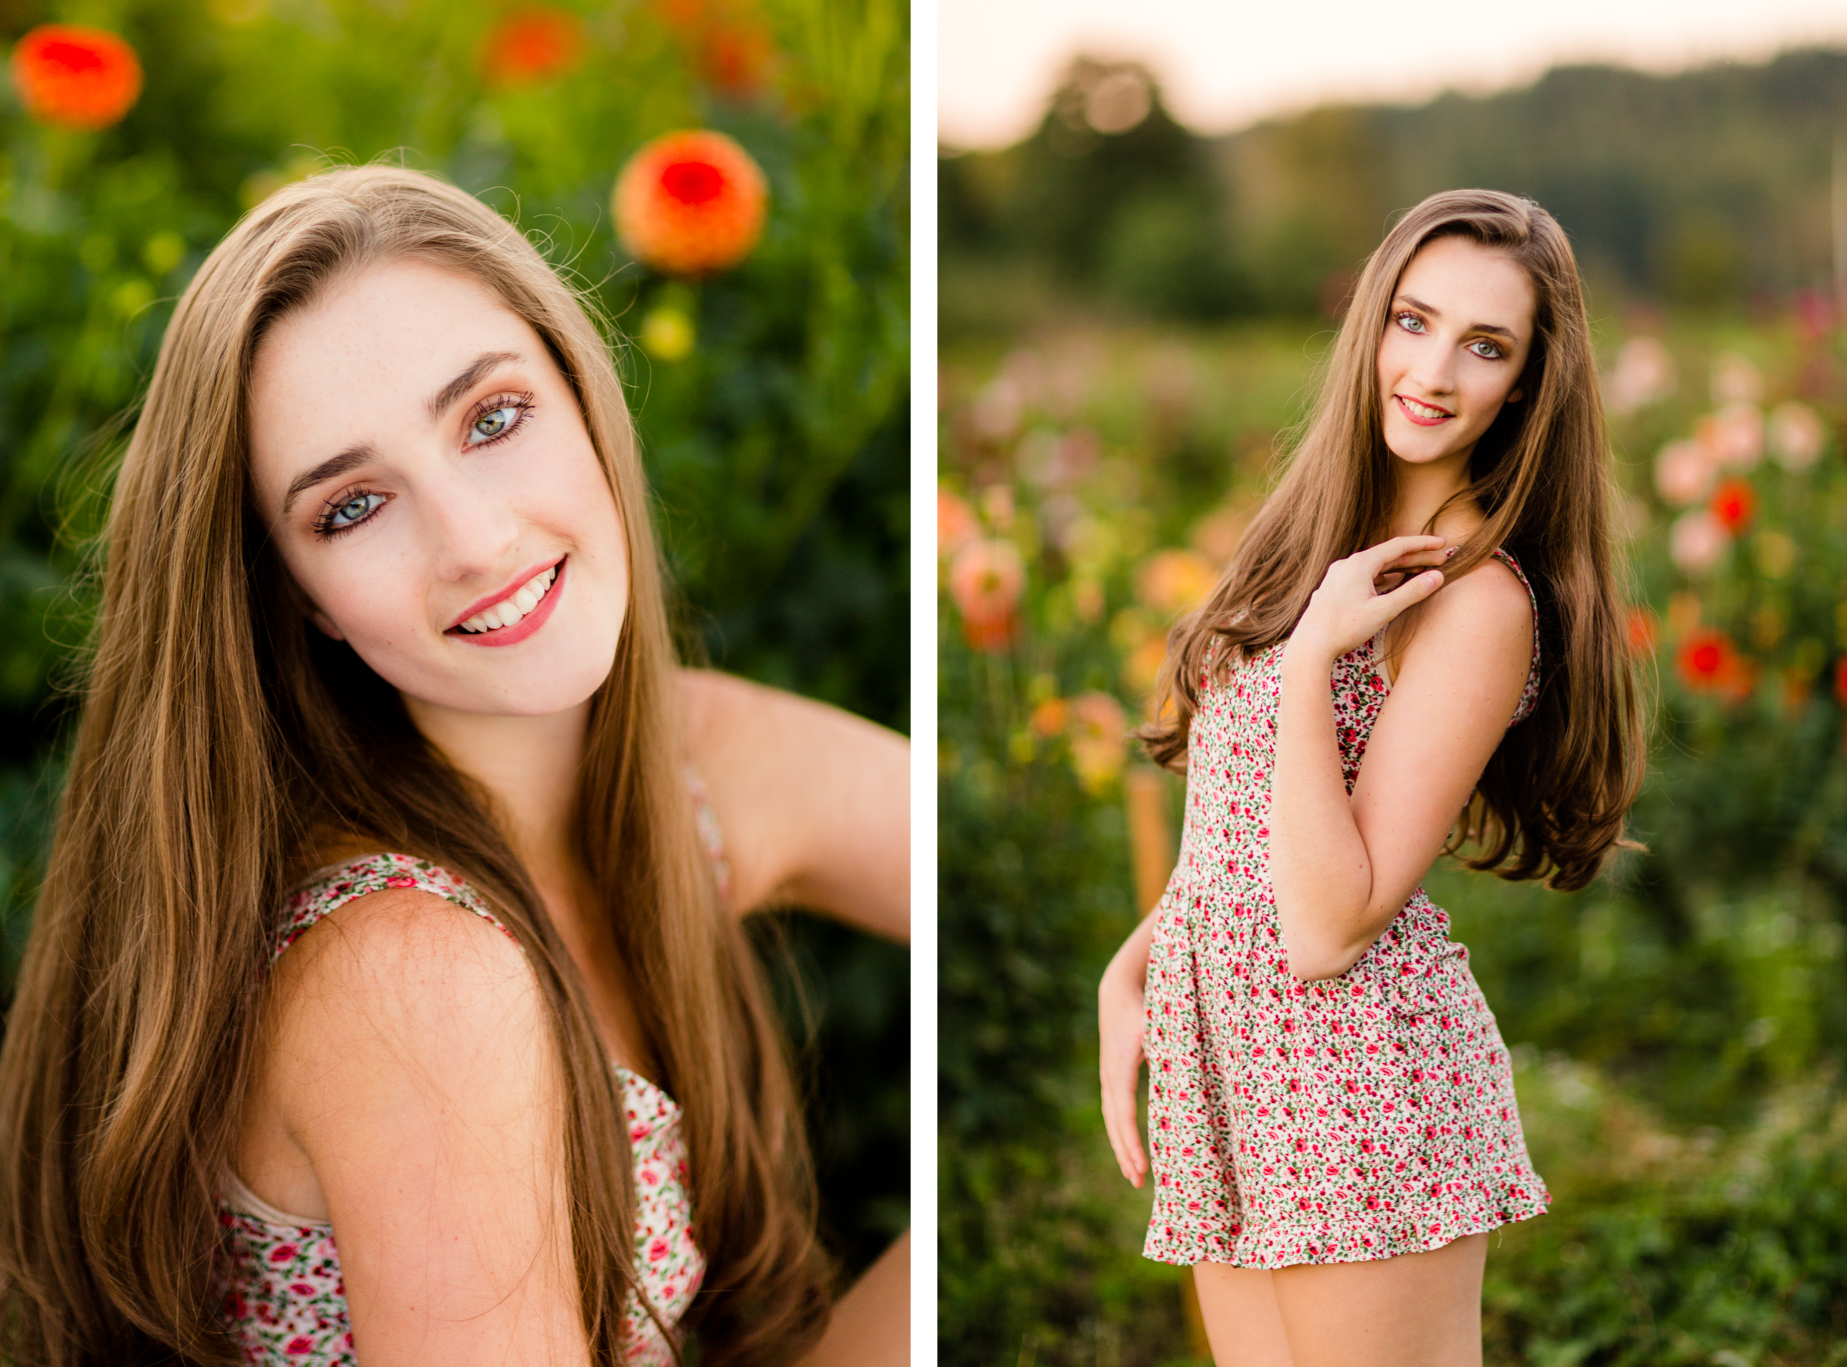
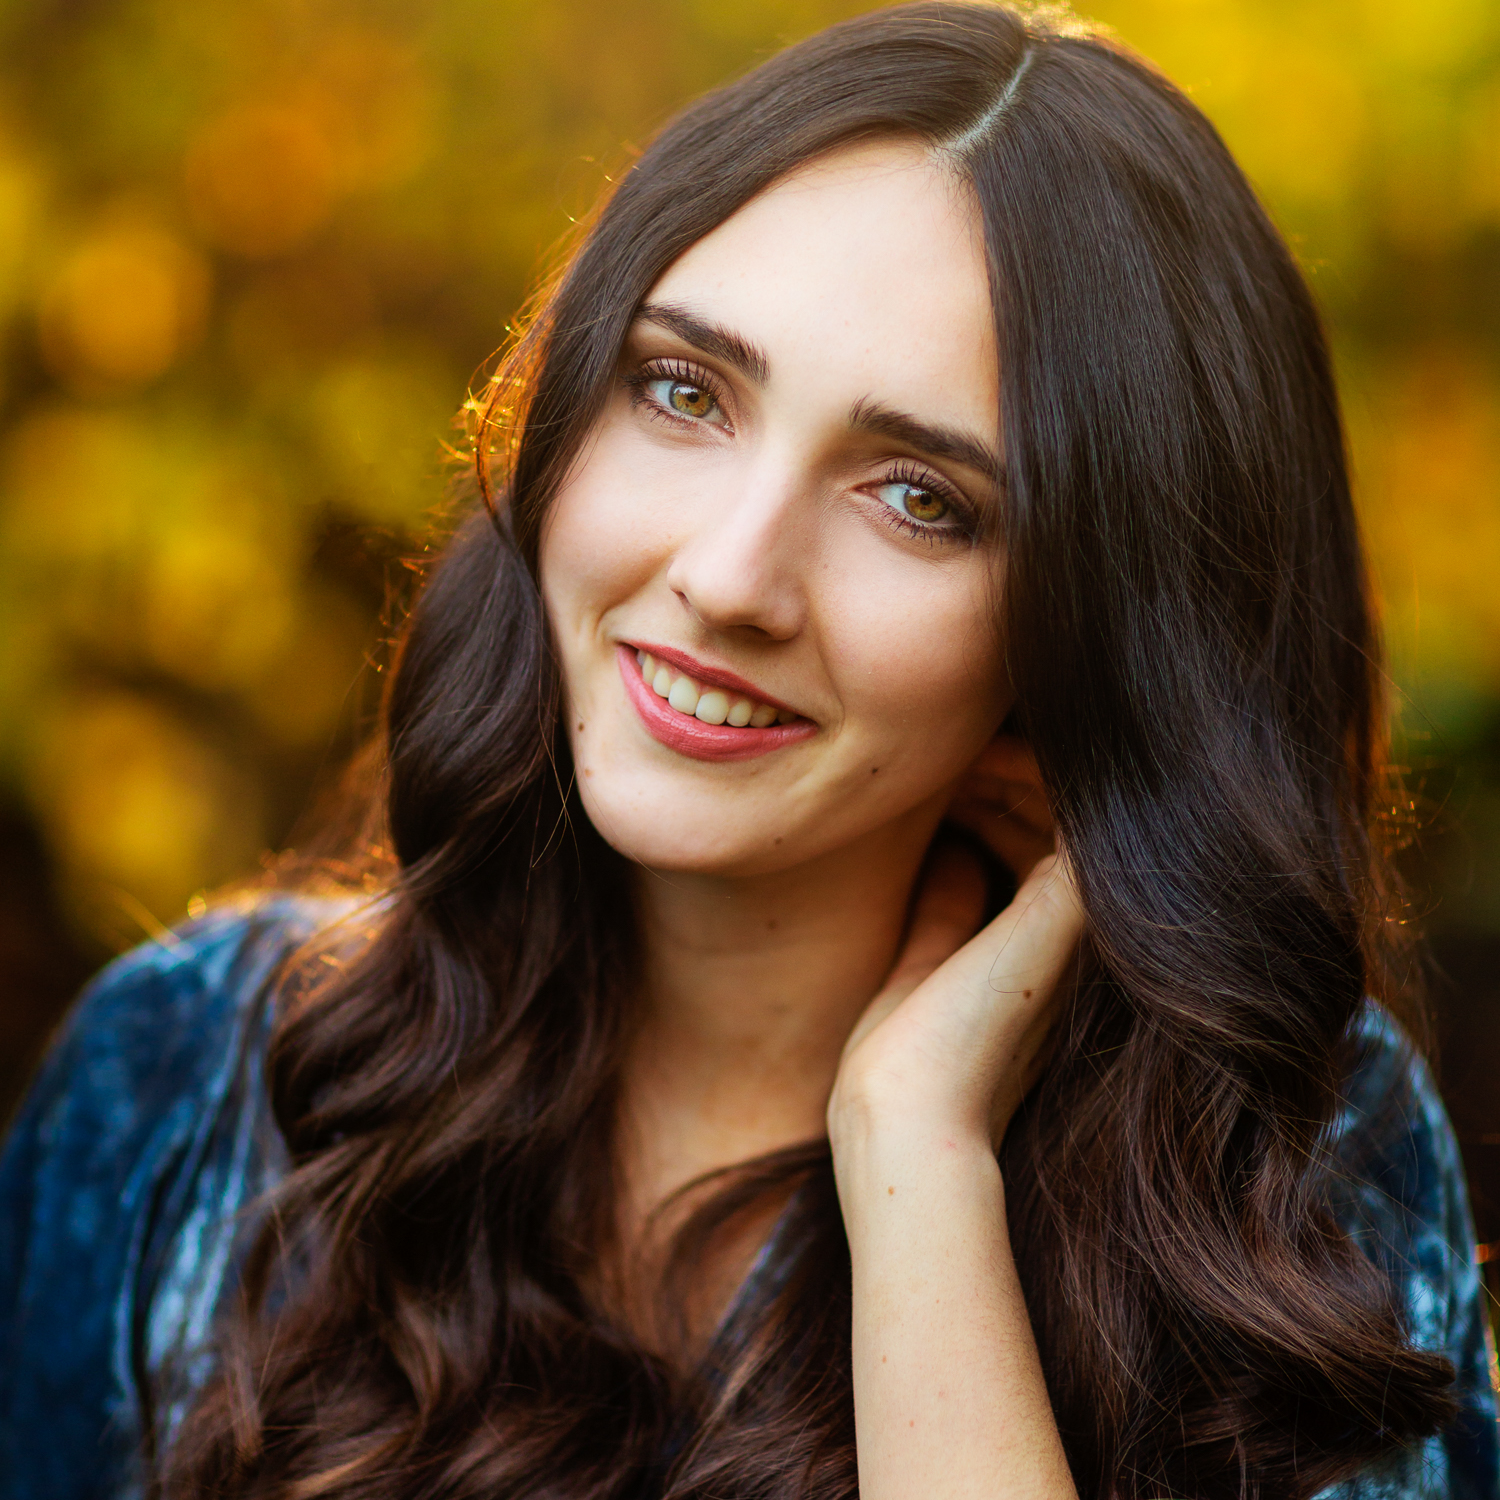
We brought about six outfits and ended up shooting until the sun completely disappeared behind the hills. The blue vintage dress is very special - our mom had her senior pictures taken in it, I had some senior photos taken in it and now Elianna! (We'll see how long this trend continues with two more girls to go!). The fun thing about photographing a sister is that you can drive along and stop at random spots along the road that otherwise would be difficult to plan! The last set of images were from an impromptu stop at a flower field as the light was hastily leaving us behind. I love the colors and soft glow of the light as it dipped behind the horizon.

I probably shared way too many images from this shoot, but it was too hard to cut anything!!

Kelvin Tutorial / For Photographers

Below is a tutorial I wrote for Delight and Be, a wonderful nonprofit ministry that hosts workshops, retreats and an online community that help young women in their pursuit of the arts! You can find more information at delightandbe.com

Shooting in Kelvin White Balance is pretty amazing! I can’t wait to show you how I do it so you can start trying it out yourself! Just like anything else - shooting in Manual, back button focusing or any other awesome thing you learn in photography, it will take a few tries to get used to. But once you do it’s so quick and so worth it!

First of all, what is Kelvin White-balance? Kelvin is just the name we use for manually setting color temperatures of an image. Every image has a Kelvin Temperature number that it was shot at, whether you let your camera guess the number on “Auto” mode, or set it manually yourself. Lower numbers (2000) make your image look cooler and higher numbers (8000) make your image warmer.

Here are some of the PLUSES of shooting in Kelvin:

1.) Color consistency between images is easier - no more random white balance all over the place that you have to adjust!

2.) It’s easier to get it right by looking on the back of your camera than to try and remember what it looked like and fix it later in Lightroom.

3.) The color looks beautiful on the back of your camera - this is a HUGE perk to me!  I’m not afraid to show an image on the back of the camera any more because I know that skin tones will be nearly spot on instead of looking like blue martians! It wows my clients and boosts their confidence to see a gorgeous image on the back of the camera!

As you can see from the image below, the SOOC (Straight out of camera) looks amazing! The left image is SOOC except for a basic curves adjustment in Lightroom that I apply to all my images (the back of your camera shows a jpeg preview with contrast added, so this is actually more like the image you and your client would see on your camera). The final image on the right has retouching and slight contrast in photoshop and a tiny bump towards green on the tint slider. I find my canon always shoots a tiny bit magenta. The image on the left is definitely stunning enough to show to a client!

4.) I personally am more accurate with creating the warm tones I’m trying to get if I start with a warmer image - if I start with a cool one my eye is thrown way off. In this image below I forgot to check my white balance and kept it too warm for my style. I still found it much easier to correct the image with a couple clicks toward the cool side than if I had started with a totally blue image in the first place. And it still has way more pleasing color than if I had shot it in “Martian Blue Auto”! ;)

Tips on HOW TO DO IT:

- Shoot in RAW in case you make a mistake
- I range between 5500-7500 Kelvin for daylight
- Indoor lighting is about 3000-4000 Kelvin
- Set your Kelvin, take a shot and then check your screen and see if you need to make the image warmer or cooler

Here’s a quick video showing you how to set your camera to Kelvin (I have a Canon 6D, so it may be different for you, but YouTube or your manual can help you find it on your own camera! I’d imagine that most Canon models are similar)

One last huge tip alert! If you set your camera to live view and then adjust the kelvin, you can see the color change on the live screen! I’ve done this a few times and it’s super handy!

And here’s one last image below with all of my settings: (85mm 1.2 @ 1.8, 1/1250, ISO 200, 7300 Kelvin)